Have had the G400 up and running for almost 6 weeks and have learned a few things that will hopefully make it easier on new to the OWB folks.
1: On filling it the first time with water, I waited until the low water light went out, turned my pumps on and the fill water off and let em circulate a bit until I couldnt hear any air entering the stove anymore then turn the fill water back on, if you shut the water off when the indicator is about half way up the scale it will be pretty close to clear full once the water is up to 180, a little more can be added if desired once its shut off at 180, dont fill clear full before you start the stove or at 160 as it will puke some water out the sight gauge once it reaches 180.
2: A good coat of the Turtle Wax paste on the damper cover makes it much easier to clean off any drippings from when you open the door.
3: Starting is pretty straight forward, be sure to follow the directions in the manual, lots of small pieces to get a coal bed established quickly as possible. Think like trying to get a wood cooking fire to coal stage as quickly as possible, small rounds and splits seem to work best. Unlike some other brands, on the Heatmaster G400 at least doesnt appear to be such a thing as too much coal bed unless it starts to get so deep it covers the slots in the bottom of the air channels right below the removable panels.
4: No need to over stir the coal bed, Im still using the poker from my old OWB and simply run it around all four sides to make sure the coals and ash are loose and not sticking from any creosote buildup and I dont stir the area at all around the nozzle.
5: When it was much warmer I was only stacking the amount of wood needed directly over the nozzle, BUT Im using a firewood processor and my pieces range from 16-18 long so I can place a row at the back and a row at the front then place any long pieces on top of that. Now that winter has come back Ive found that its running longer I havent run out of wood but it can burn away the coals from either the front or back of the nozzle slot if the wood is only placed in the center and youll get a small amount of smoke as the coals are essential in helping to preheat the combustion gasses so they can be totally consumed in the secondary burn chamber. It still ran just fine and we had a warm house so happy wife, but smoke is wasted fuel.
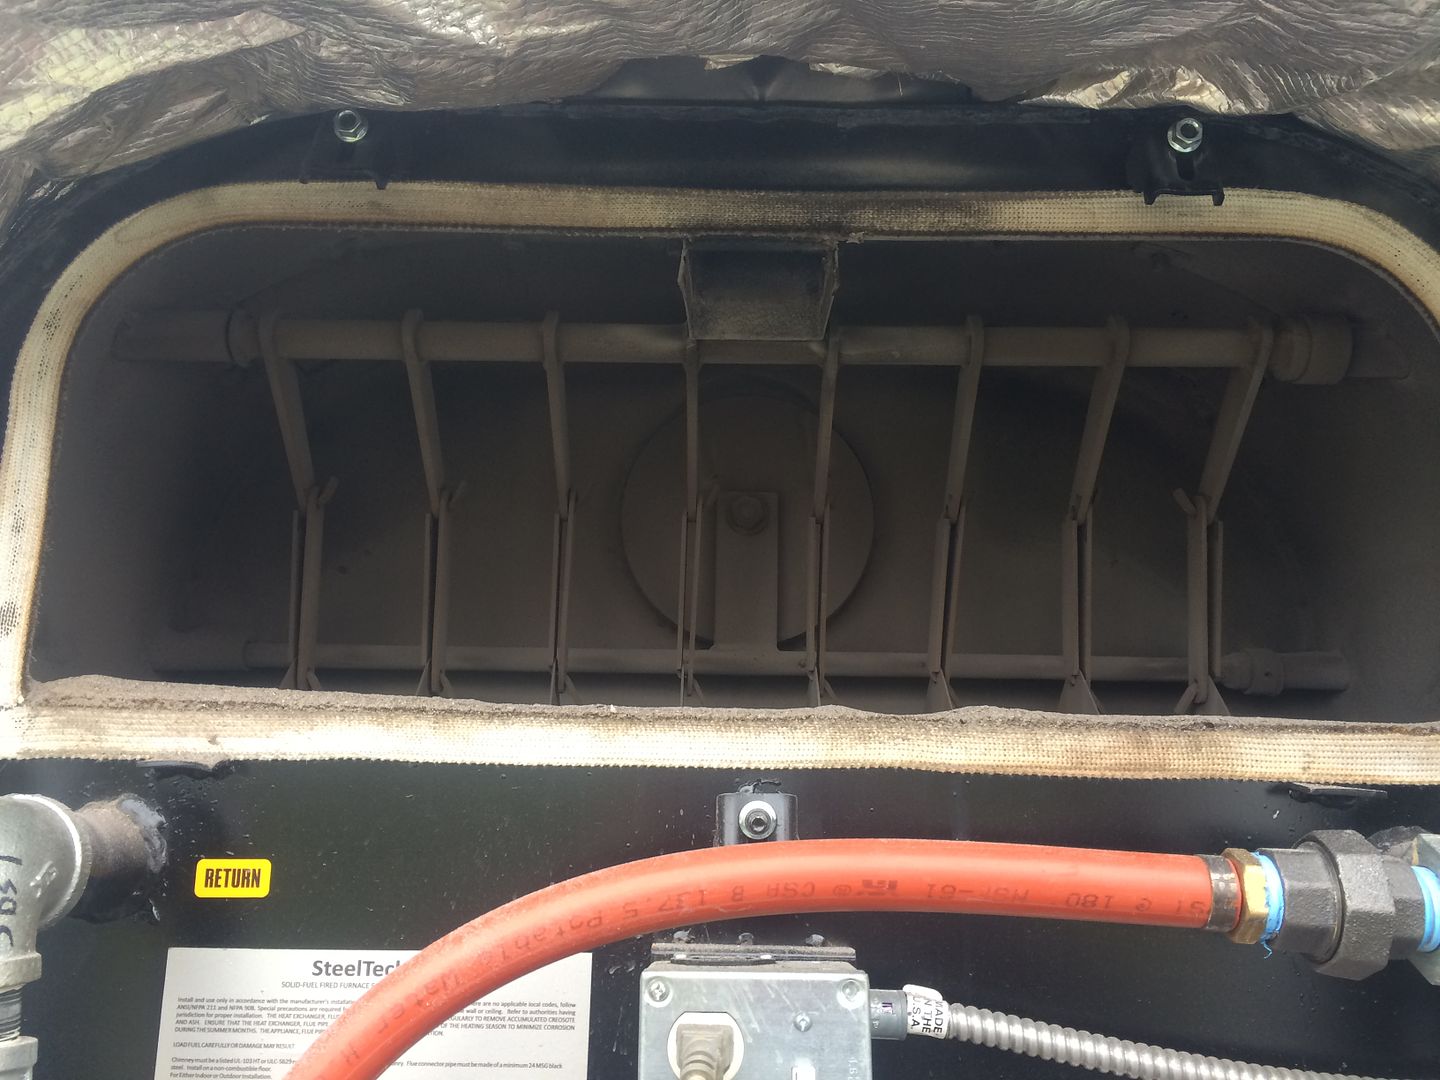
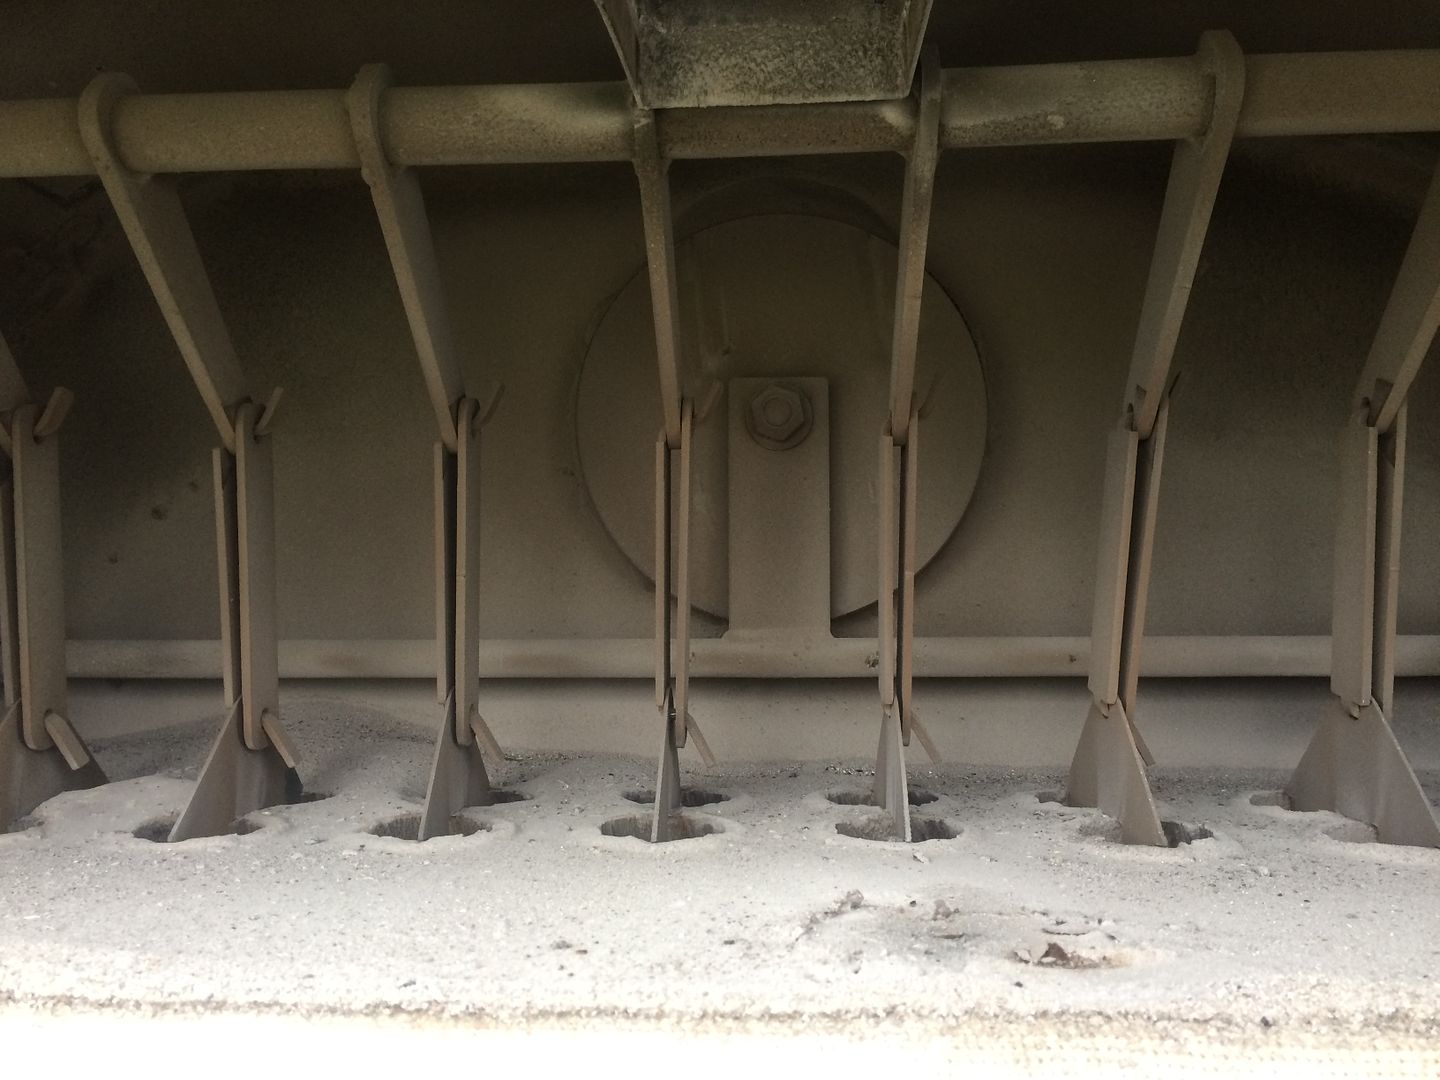
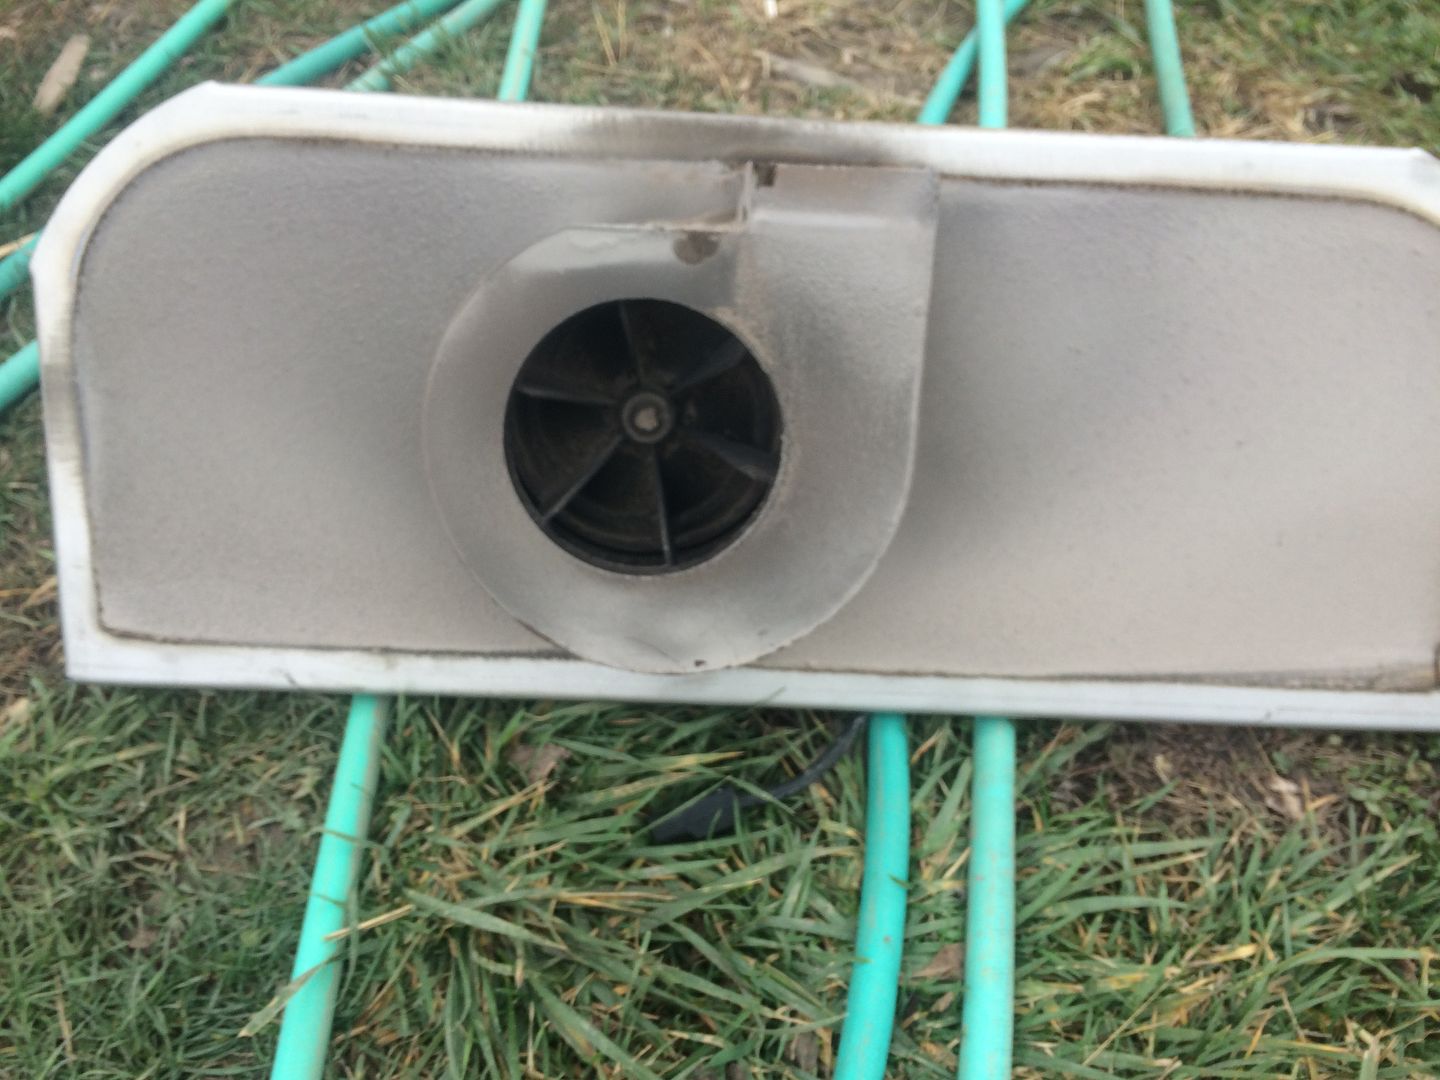
6A: Did a complete cleaning before restarting Thursday morning, found very little ash in the top chamber where the draft inducer is, but with the warmer weather we had earlier I wasnt going thru a large amount of wood either, so how often it actually needs cleaned will rely a lot on amount and type of wood burnt.
6B: On cleaning the lower reaction chamber, it doesnt need done that often, but ash is an excellent insulator so the more often its done and the more bare metal exposed to the heat the more heat exchange area youll have which increases efficiency. I was cleaning once a week, but may go up to several times a week or every other day as wood consumption goes up. Again your situation may be different and so will the cleaning intervals.
7A: Im burning dry wood, has tested between 15% and 20% but with the colder air was still getting some drips on the damper cover during idling, I tightened the door by moving the top and bottom latch rollers a 1/16 of an inch each and have completely eliminated drips while idling. With my old stove if you got up in the morning and had ice under the door on the cement it was a sign that the door latch needed to be tighter or a new gasket was in order. Its not so much as trying to seal the water in as keeping the cold air out, doesnt take much cold air hitting the warm air or metal around the door to cause condensation and drips.
7B: A good way to test to make sure you have good seals on both front doors and the power vent panel is to place the bypass handle into bypass so the fan starts but leave the loading and secondary doors closed then either using a cigar or a bic lighter on a calm day take the cigar or lighter around your seals and watch to see if the smoke or flame is pulled into the seal, if so adjustment is required.
8: Once your coal bed is well established some larger rounds or unsplittables can be used as long as you use enough smaller pieces to replenish the coal bed. Ive been using several rounds 12-14 in diameter each time I fill and have been doing just fine. My large rounds are ironwood and elm and both are under 25%.
9A: Filling it, you can obviously do this at any time, I prefer to wait until right before its ready to start a new burn cycle, you wont have near the heat to deal with in the firebox as the coals will have had time to settle down a bit.
9B: Ive found if youve let the coal bed burn quite low, the first cycle you may get a little smoke and the next several cycles youll more than likely get a little steam out the stack. Steam or condensation is easy to tell, it will form a foot or more after exiting the stack and will dissipate very quickly. My old stove in a temperature inversion where the smoke came out then hugged the ground Ive seen it drift almost a quarter mile before completely dissipating.
10: I let it go out and left it out for 6 days, the last two it could have been running but I was at a trade show for two days. Something interesting I found, the morning of the second day after letting it go out, I turned it back on out of curiosity and after ten minutes still had live coals in the ash bed, so if required doing a batch burn in the shoulder season shouldnt be a problem as you wont be starting from scratch as it seems to hold coals for a long time.
Some pics of cleaning it, did the whole stove in less than 30 minutes. Depending on how much and kind of wood, most likely a person wouldnt have to clean the power vent area more than once or twice thru the burning season.
 Author
Topic: G400 Observations (Read 16038 times)
Author
Topic: G400 Observations (Read 16038 times)